The realm of Print On Demand (POD) is flourishing, with numerous companies offering the opportunity to imprint your designs on various products. Once you’ve crafted your design, these companies handle the entire process, encompassing printing and delivery.
How Print On Demand Works
Success in this business model hinges on the design aspect. Entrepreneurs focus on creating designs, and when a customer places an order, the POD platform manages the rest. The business owner covers the printing and delivery costs to the POD company, and the profit is derived from the remaining portion of the customer’s payment.
While I’m not currently planning to launch such a business, I am intrigued by the concept of designing my own products. As many POD companies allow anyone to create a free account and establish a store, I decided to register with a few of them to design various items. Specifically, I designed two leggings, a pair of shoes, and a sports bra using three different POD providers: Printful (a well-known company), Sublimminator (a smaller, less-known provider from China), and InkPod (another Chinese provider). I was pleased with the outcome of all the items, and my next design project is a gaming pad, intended for use as a desktop mat rather than for gaming, serving more as a decorative element for my desktop.
Printing My Design On A Gaming Pad
When searching for a suitable gaming pad on POD providers, I wasn’t satisfied with the options available, and the ones I did like had steep prices. Consequently, I took a different approach by exploring Aliexpress for a custom-designed gaming pad. After finding several results, I sifted through them to identify an item with positive reviews.
The process on Aliexpress differs from that of most POD providers, lacking the built-in mockup creator. On Aliexpress, I had to send my design to the store through the message center and receive a final mockup from them. Once satisfied, they would proceed to print and ship the product.
While this approach may not be suitable for items like clothing, where the mockup feature is crucial to ensure the garment’s overall appearance, it works well for products like gaming pads. Given their simple rectangular or square design, it’s challenging to go wrong.
The Design Process
Since I lack graphic design or illustration skills, I utilized Midjourney to create the design for the gaming pad.
Here is the process i went through, in order to get the final image for my gaming pad:
I started with this prompt:
botanical forest –tile
Here are the 4 images Midjourney generated for me:
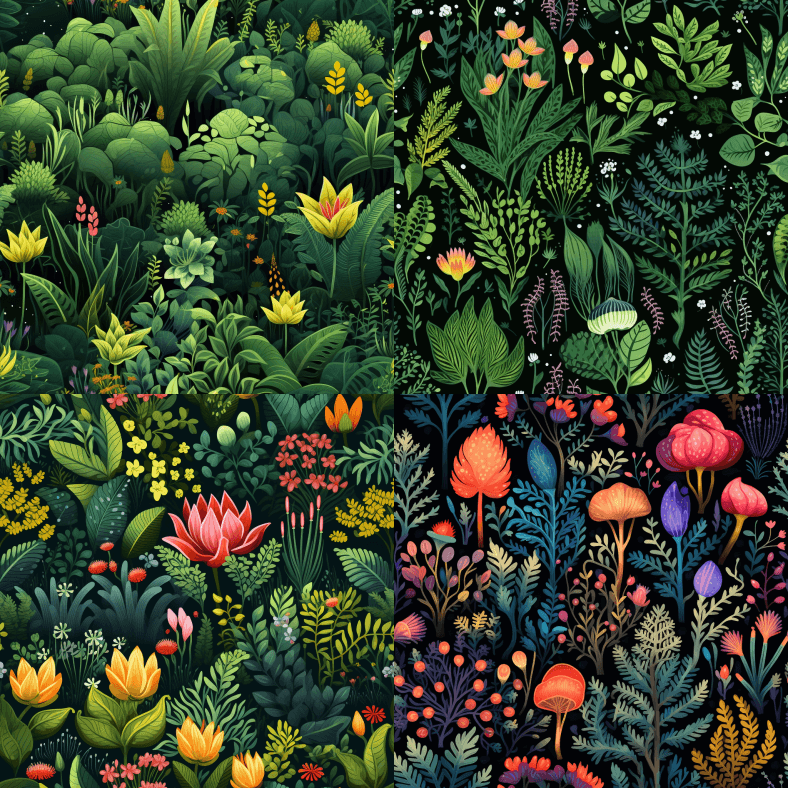
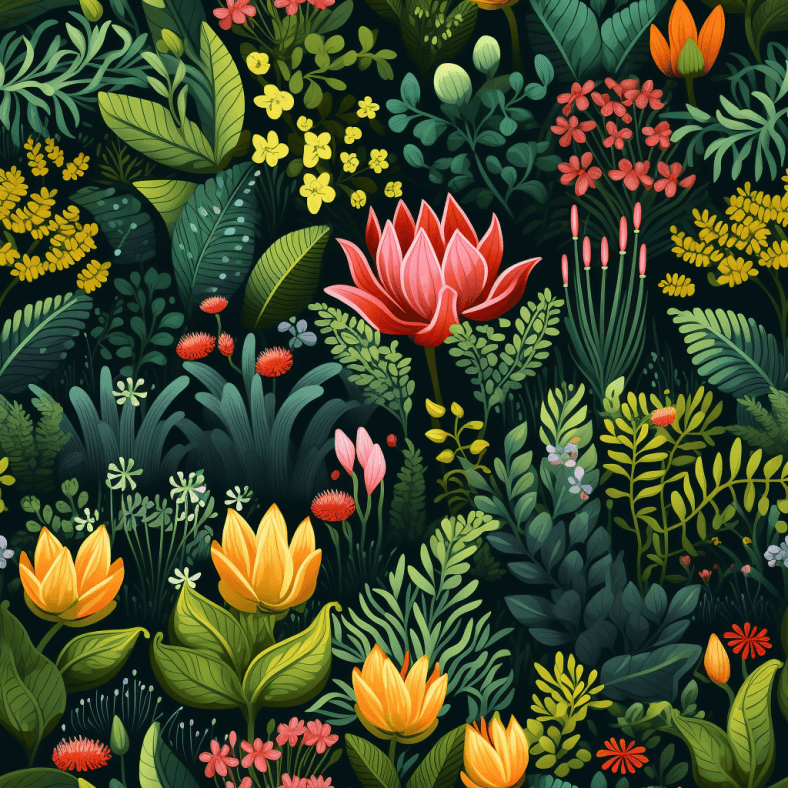
I decided to upscale image number 3, here it is:
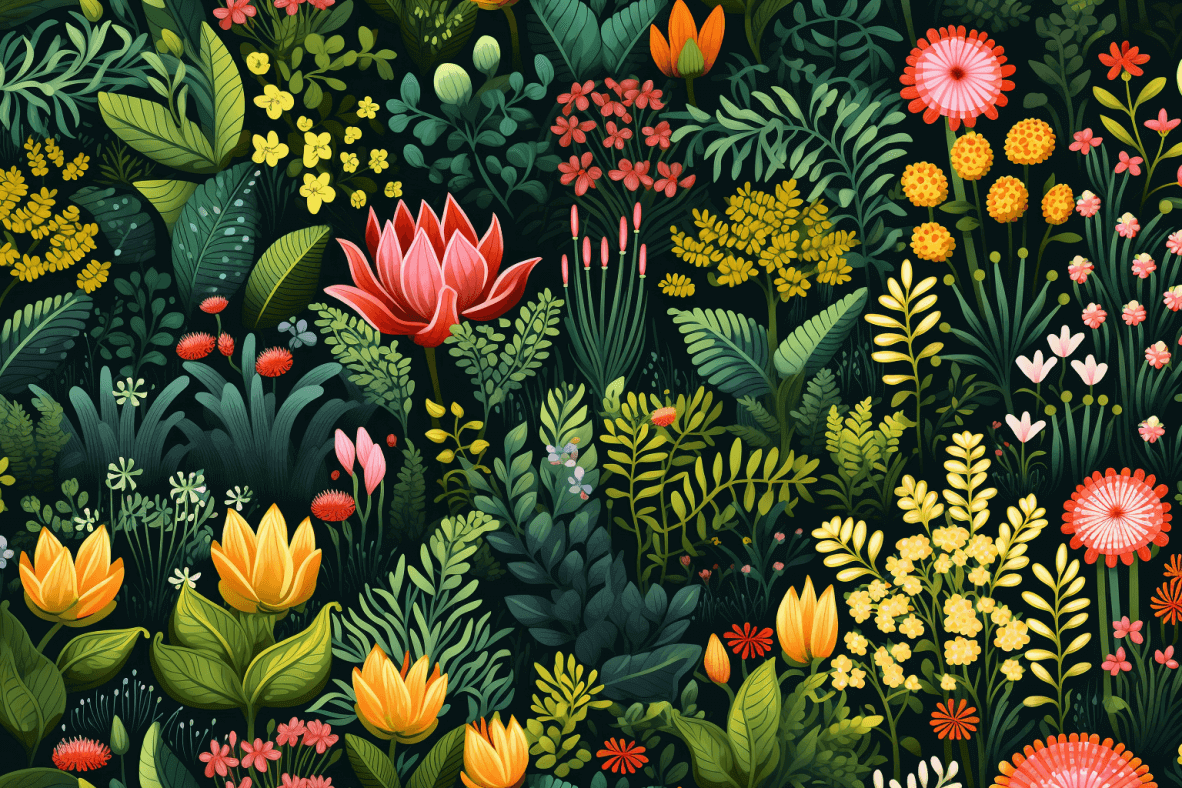
I aimed to enhance this design for a rectangular gaming pad, requiring a significant increase in dimensions. Leveraging the panning feature in Midjourney, I navigated using the right arrow. With the remix option enabled, I had the flexibility to modify the prompt. I deleted the tile parameter and requested a black background. The modified prompt is as follows:
forest with some flowers, black background
And here is the image i chose out of the 4 options:
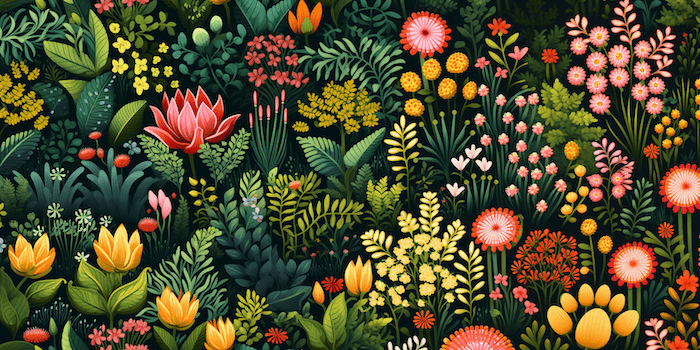
Requiring a greater weight size, I continued panning to the right. The updated prompt is as follows:
few flowers, big space of black background
I wanted the image to have more black space and less flowers. Midjourney didn’t listen to me, but i liked the result so i kept it:
The image is still not complete and i wanted to pan in again. This time i only used this neext prompt while panning to the right:
black background
And here is the image i chose:
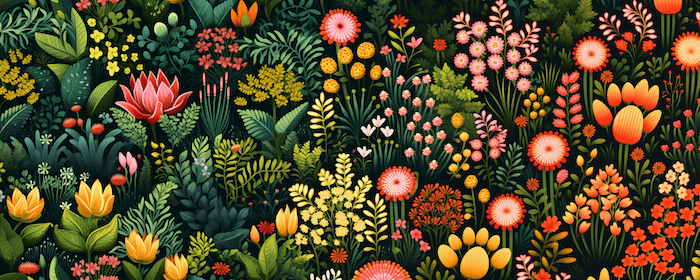
Yes, Midjourny had its own plans and insisted on not creating a black area. OK, let’s move on. It’s a nice forest after all so i’ll take it.
I opted to experiment with a left pan, and concurrently, I sought to incorporate creatures into my design, specifically opting for cute dwarves. The prompt for this was as follows:
cute dwarves in the forest, black background
Once more, Midjourney took its own creative liberties, introducing only one dwarf to each image. Surprisingly, I found myself enamored with the result yet again. Below is the image featuring my favorite dwarf out of the four:

And this is it, That’s my final design.
Now, the next step was to place the order for the gaming pad and ascertain the store owner’s preferred method of receiving my custom image. The product came with detailed instructions regarding the pad’s size and resolution. Given that Midjourney’s image quality wasn’t sufficient for printing, I had to use an upscaling tool.I used Pixelcut’s tool.
After getting a high-quality image, I cut it to fit the exact size mentioned in the item details. Then, I sent it over to the provider, got a sneak peek before they printed it, gave it a thumbs up, and then all i had to do is eagerly wait for my package.
The Final Result
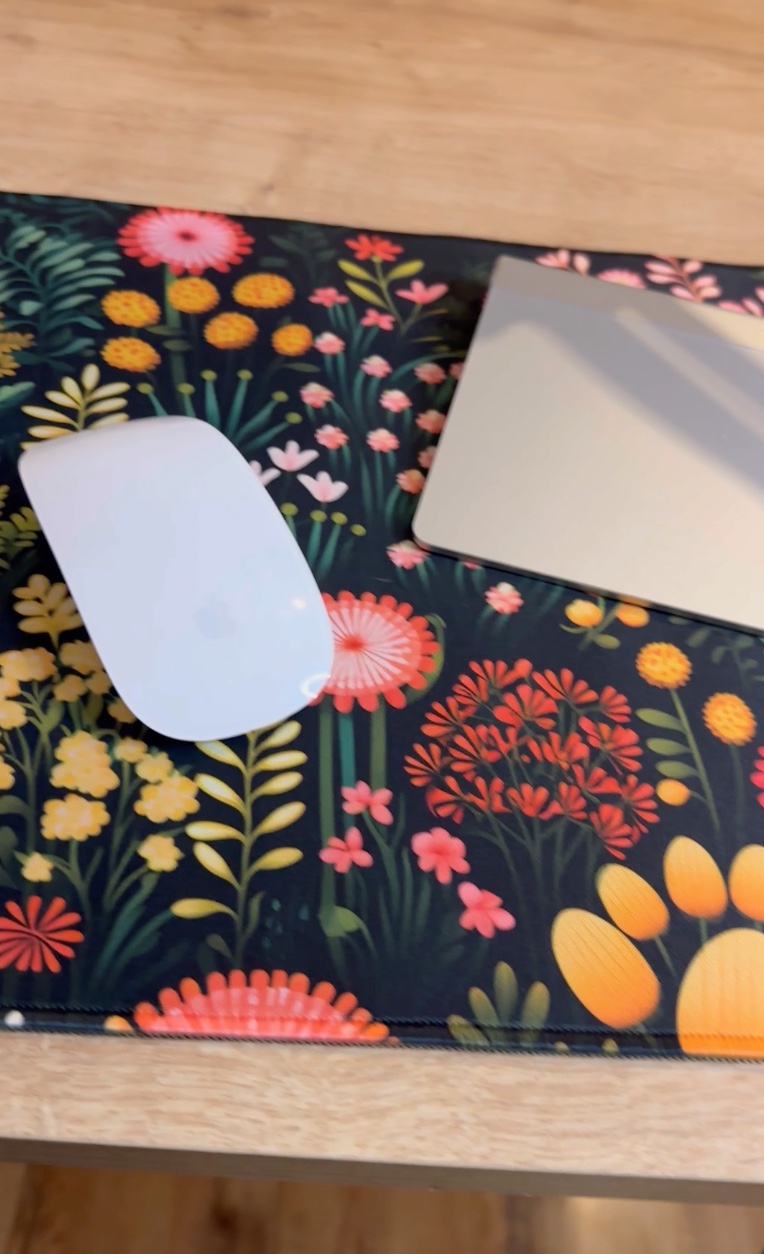
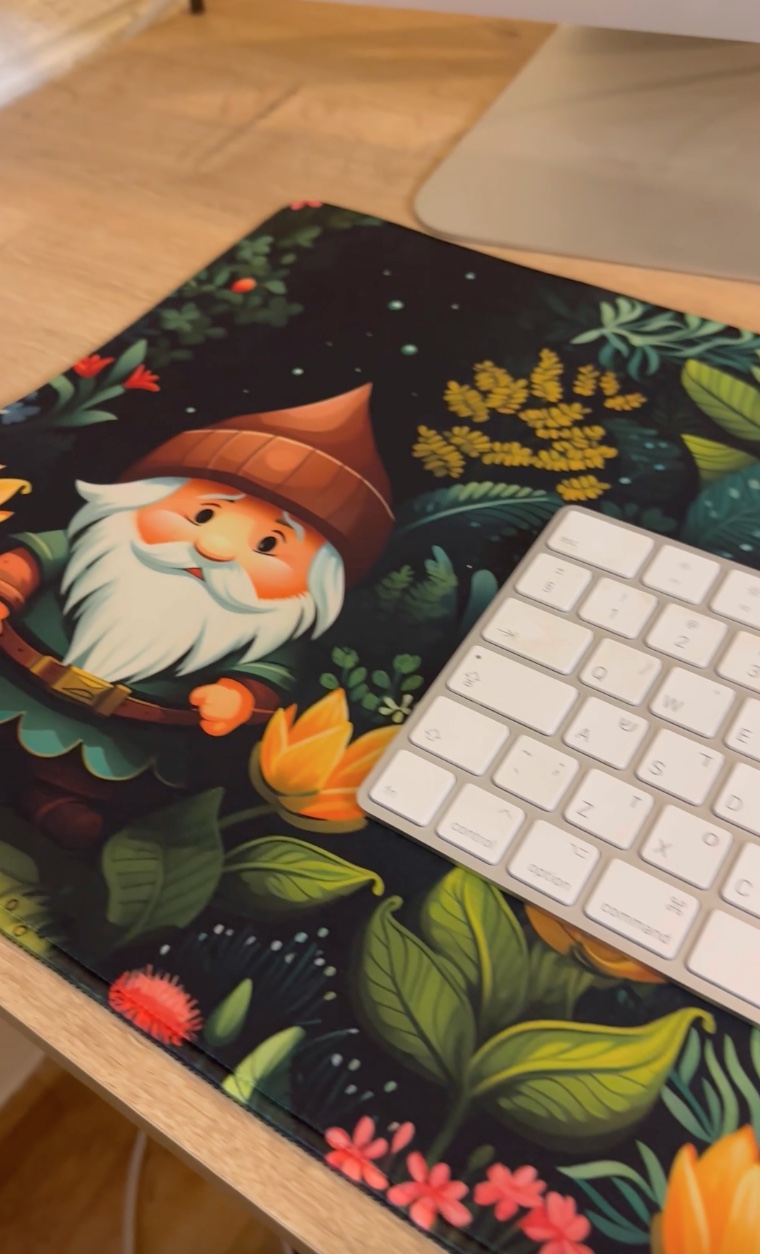
The item was delivered in three weeks. The printing process was swift; I received a notification that the package was shipped just one day after placing the order. I felt nervous about the outcome, as I wanted it to be as beautiful as it appeared in the mockup. I was delighted when I carefully unrolled the mat and saw that it had turned out beautifully!
Included below are some photos and a video of it on my desk:
Want One For Yourself?
If you liked the design of this gaming pad, you can get one for yourself! Check out my store, where i offer some more desk pads with different designs. They even have LED lights around it!
